When we assemble an end-grain butcher block, we orient the wood fibers vertically, pointing the cut ends of the tree rings upward toward the ceiling. Running a knife blade across this surface feels fundamentally different from cutting on edge-grain or face-grain timber. The sharp edge slips gently between the upright fibers rather than severing them across their width, which keeps our carbon steel knives keen for weeks longer and spares the wood from deep, scarring score marks. In exchange for this kindness to our blades, the board asks for a different kind of stewardship.
Left unattended on a dry maple or walnut counter, an end-grain block will slowly surrender its internal moisture to the surrounding air, drawing in whatever liquids happen to touch its face during prep work. Onion juices, beef blood, and tomato water will willingly seep into open capillaries if we have not filled those voids first with a dedicated mixture of clean oil and wax. Caring for these thick slabs is not a cosmetic ritual. It is a physical dialogue with the porous architecture of dried hardwood, requiring heavy oils, dense waxes, and the heat of our own hands to keep the wood resilient across years of daily cooking.
Why end-grain wood behaves like a bundle of straws
To understand an end-grain cutting block, we have to picture the living vascular system of a tree. Hardwoods like sugar maple, black walnut, and white oak transport water and sap from their root systems up to their canopy through elongated tubular cells called vessels and tracheids. When a sawyer cuts a board along its length, those tubes lie flat like reedy stems pressed inside an old book. When we cross-cut that timber into short segments and turn them ninety degrees to form an end-grain surface, those millions of open tube endings face directly toward us.
This vascular orientation creates strong capillary suction. Place a dry corner of an end-grain block into a shallow puddle of water on the countertop, and within twenty minutes the liquid will climb an inch or two upward into the interior of the wood. The board pulls moisture in along its vessel channels far faster than it can evaporate through the dense side walls of the surrounding fibers. If the water distributes unevenly, the cells swell at different rates, exerting hundreds of pounds of hydraulic pressure against the waterproof glue joints that hold the checkerboard together.
When the moisture departs just as quickly during a dry winter week, the tips of the fibers contract and pull apart from one another. This alternating cycle of swelling and shrinking is what causes an uncared-for block to cup, twist, or split right down its seams. Our goal when conditioning the wood is simple: we satisfy that capillary thirst with non-drying lipids and stable wax crystals before wash water or vegetable juices can claim the space.
Scraping versus washing after slicing wet produce
Every time we expose an end-grain board to hot water and liquid soap, we wash away a small fraction of the protective oil we spent weeks working into the pores. While raw poultry or pork prep demands immediate washing with lukewarm water and a mild, unscented dish soap, general vegetable chopping does not require soaking the board in the sink. In our workshop and kitchen, the bench scraper is our primary cleaning tool.
A rigid steel bench scraper held at a sixty-degree angle shears off crushed garlic residues, sticky tomato seeds, and starch films in two or three broad strokes. By keeping the blade flat and scraping along the grid lines, we remove surface debris without gouging the wood or softening the top millimeter of grain. After scraping, a coarse cotton cloth wrung out until nearly dry removes any lingering sugars or acids. The surface dries in three or four minutes because we never gave water the opportunity to penetrate the vertical fibers.
| Cleaning Technique | Moisture Infiltration | Oil Loss | Recommended Frequency |
|---|---|---|---|
| Dry or damp bench scraping | Minimal to none | Negligible | After every dry prep or firm vegetable prep |
| Damp washcloth with vinegar mist | Shallow surface wetting | Very low | After slicing alliums, brassicas, or bread |
| Warm water, mild soap, stiff brush | Moderate capillary uptake | Moderate | After handling raw meat, fish, or dairy |
| Immersion in sink water | Severe deep saturation | Extreme stripping | Never under any circumstances |
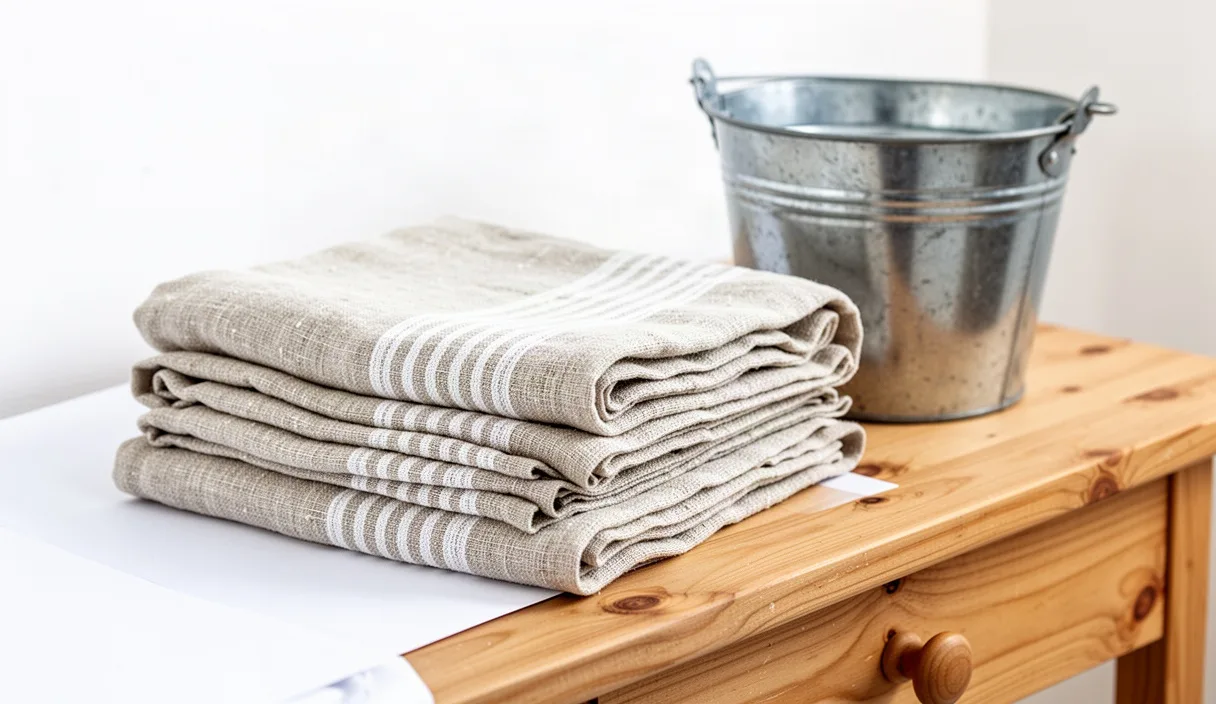
When soap is non-negotiable, we wash both faces of the board, even if we only chopped on one side. Wetting only the top face invites the upper fibers to expand while the bottom fibers remain tight, encouraging the block to bow upward in the middle like a bridge. We rinse both sides quickly under running tap water, towel off the standing droplets with heavy linen, and lean the block on its edge in a wire rack so air flows freely around all six facets.
Melt-blending raw beeswax and mineral oil on the stove
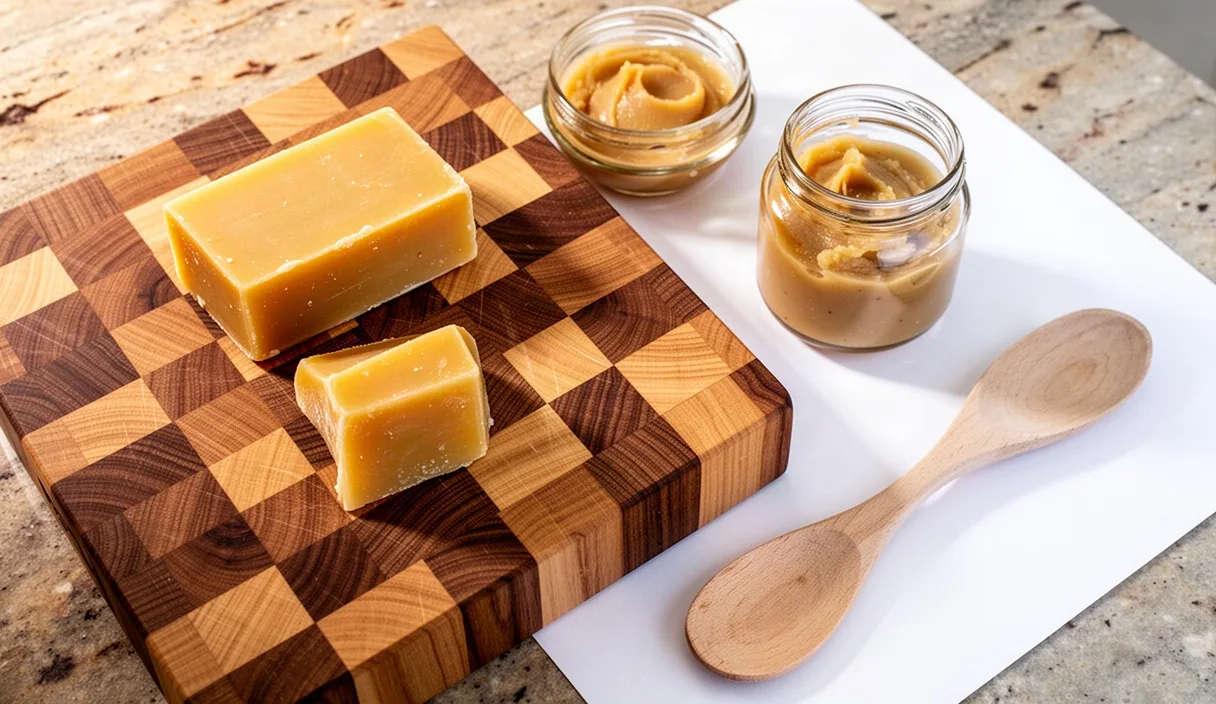
Commercial conditioning creams often rely on chemical driers, solvents, or thin vegetable oils that turn rancid over time. We prefer to blend our own board butter from two straightforward ingredients: USP food-grade mineral oil and unbleached, raw beeswax from a local apiary. Pure mineral oil penetrates deep into the capillaries because of its low viscosity, while the long-chain hydrocarbons in beeswax solidify at room temperature, creating an amber seal near the surface that repels water.
We blend these materials using a simple four-to-one ratio by weight: four parts mineral oil to one part shredded beeswax. If you cut on heavy end-grain oak with wider vascular pores, you can thicken the blend slightly to three parts oil and one part wax. If you are conditioning dense rock maple in the dead of winter, five parts oil to one part wax flows more easily into tight rings. Never place the wax pot directly over a gas flame; beeswax melts around 145 degrees Fahrenheit and can ignite if overheated.
- Weigh the ingredients: Place a clean stainless steel bowl or a wide-mouth glass mason jar on a kitchen scale. Measure out 400 grams of food-grade mineral oil and 100 grams of raw beeswax pellets or grated wax shavings.
- Assemble a water bath: Set the jar or bowl inside a wide saucepan filled with two inches of tap water. Bring the water to a gentle simmer over medium-low heat, keeping the water temperature between 160 and 175 degrees Fahrenheit.
- Stir patiently: Use an untreated wooden dowel or a clean metal spoon to stir the mixture as the wax softens. The golden shreds will collapse into clear yellow ribbons before fully dissolving into the warm oil.
- Decant and cool: Remove the mixture from the heat once the liquid is completely transparent without floating wax clouds. Pour the hot liquid into shallow, wide-mouth metal tins or glass preserve jars. As the balm cools over three hours, it turns from a rich golden syrup into an opaque, buttery paste with a subtle scent of honey and pollen.
Working the balm deep into thirsty end fibers
Before applying the balm, we make sure the cutting block has spent at least twenty-four hours drying at room temperature. Applying wax over trapped moisture will seal dampness inside the timber, which encourages dark fungal stains beneath the glue lines. The wood should feel dry, dusty, and faintly cool to the palm.
We do not use synthetic application sponges, which absorb more paste than they deliver. Instead, we use our bare hands or a small pad of folded unbleached cotton flannel. Scoop out a walnut-sized knob of the paste. As soon as the wax hits the skin, body heat softens the solid fats, turning the firm paste into a heavy, workable ointment.
Rub the butter across the surface in small, forceful circles. Do not glide over the timber lightly; press down with the heel of your hand so the warm slurry gets driven directly into the open tube mouths. As you work, you will hear a faint squelching sound as air pockets inside the vessel elements give way to the dense oil. Keep feeding dry sections until the entire top looks wet, glossy, and evenly coated with a pale yellow haze.
Once the prep face is saturated, turn the block and coat all four perimeter edges, taking extra time on the end-grain handles or carved juice grooves where wood fibers were cut diagonally. Coat the bottom surface as well. We leave the coated board resting horizontally on four upturned bottle caps or wooden blocks for eight to twelve hours. During this resting window, the lighter mineral oil slips deep into the heart of each wood block, leaving a dense, cooling skin of wax crystalline structure locked in the top millimeter of grain.
Buffing away excess wax with a dry linen cloth
After the resting period, the board will look dull, slightly cloudy, and feel greasy to the touch. This cloudy haze is normal; it is the beeswax setting up on the exterior after separating slightly from the deeper-traveling oil. Leaving this excess layer unworked will cause flour, chopped herbs, and dust to cling to the timber during your next prep session.
Take a square of coarse, dry linen or an old unbleached cotton flour sack. Fold it into a firm palm-sized pad. Begin buffing the board vigorously, moving strictly in the direction of the timber rows. The friction generated by brisk rubbing creates enough localized heat to level the microscopic peaks and valleys of the wax layer, smoothing it into a durable finish that resists liquid penetration.
You will feel the cloth drag stubbornly at first against the cold wax. After thirty or forty strokes across a section, the resistance suddenly drops, and the cloth begins to glide freely. Flip the cloth frequently to a clean fold to lift off excess grease rather than simply spreading it around. When finished, the surface should show a soft, satin gleam without any tacky or waxy film transfer when you press your dry thumb hard against the wood.
Fixing dry patches and small edge fissures
End-grain boards are dynamic structures that respond to seasonal shifts in atmospheric humidity. If you spot localized dry patches, faint graying, or hairline micro-fissures along the perimeter joints, do not wait for the scheduled monthly waxing. These small signs indicate that moisture has departed that specific quadrant of the block, leaving the wood cells stressed and vulnerable to wider splitting.
For isolated dry areas that show up after heavy use under running water, warm the affected spot with a hair dryer set to low heat for sixty seconds from six inches away. The gentle warmth opens the tight fiber tips. Work pure mineral oil into the patch drop by drop with your fingertip until the wood stops drinking it in. Once the dry zone matches the dark, rich tone of the surrounding timber, seal it with a thumb of your wax butter and buff it down flush.
If seasonal tension has created a hairline surface fissure, usually less than half a millimeter wide along an end-grain border, you must stabilize the moisture content immediately before dirt packs into the crevice. Clean the fissure with a stiff, dry boar-bristle brush to dislodge food particles. Flood the gap with pure mineral oil twice daily for three consecutive days. As the desiccated cell walls absorb the liquid, they expand gradually, often closing the hairline crack entirely on their own.
If a fissure remains open after three days of oiling and exceeds one millimeter in width, structural movement has occurred that oil alone cannot mend. Never pack food-contact surfaces with standard woodworking wood-filler, which dissolves under kitchen moisture, nor with conventional hardware-store epoxy that may leach toxins into your food. At this stage, consult a local cabinetmaker or woodenware specialist who can clean the joint and execute a food-safe mechanical repair or stabilized resin bond.
Common mistakes when maintaining end-grain blocks
Even seasoned home cooks occasionally commit errors that shorten the lifespan of an otherwise heirloom-grade end-grain block. Here are the missteps we encounter most frequently in the repair shop:
- Reaching for cooking oils: Olive oil, canola oil, walnut oil, and flaxseed oil may sound natural, but unrefined culinary oils contain unsaturated fatty acids that oxidize when exposed to air. Within a few months, they decompose inside the grain, leaving a sour, rancid smell that transfers directly into chopped food.
- Drying the board flat on a solid counter: Setting a damp block directly onto granite or laminate traps an envelope of moisture beneath it while the top face dries in the open room. The resulting differential tension causes the bottom corners to lift, creating a rocking or cupped cutting surface within hours.
- Overusing coarse sandpaper: When a board looks dull, some cooks reach for 80-grit sandpaper. Coarse abrasives tear and fuzz end-grain fibers instead of cutting them clean, turning the surface into a fuzzy sponge that drinks water far too fast. If hand-sanding is ever required to clear a burn or stain, work through fine grits up to 320-grit, then buff with oil.
- Using chemical sanitizers or bleach: Household chlorine bleach and caustic cleaning sprays break down the lignin that binds wood cells together, turning the surface powdery and bleaching out the deep, natural colors of walnut, cherry, and maple.
Routine schedule and practical next steps
Caring for an end-grain block does not require daily labor; it requires attentiveness to changes in how the wood looks and feels. When water droplets bead up into round pearls on the surface like water on a freshly waxed car hood, your board is protected. When moisture spreads out flat and darkens the wood within thirty seconds, the wax barrier has broken down, and a quick reapplication is due.
We follow a straightforward seasonal rhythm in our own kitchen. Every week, after routine scraping and dry wiping, we inspect the prep zone. Once a month, or whenever the rich walnut or maple hues begin to look chalky and pale, we apply a fresh coat of the melted oil-and-wax butter, allowing it to soak overnight before buffing it out with dry linen.
To begin this upkeep today, clear your butcher block of clutter, scrape its face clean of old vegetable residues, and check all sides for signs of dryness or checking. Gather a small tin of raw beeswax and a bottle of mineral oil, set your water bath on the stove, and let the gentle heat prepare the balm that will preserve your cutting block for generations of good meals.