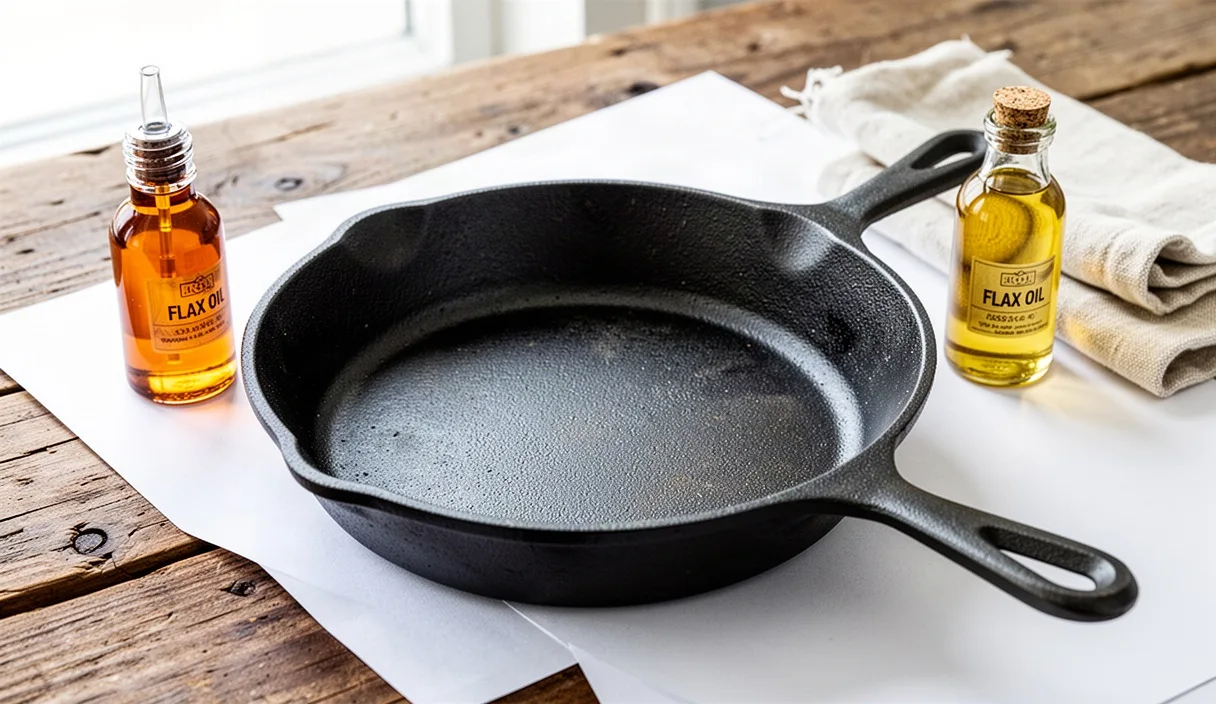
When we pull an untreated iron skillet from the sand mold, its surface is gray, raw, and thirsty. Under a loupe, cast iron looks less like a sheet of metal and more like an open sponge, riddled with microscopic voids, jagged peaks, and deep valleys formed as molten gray iron cooled against damp sand. Left bare in open air, it will rust within hours from ambient humidity alone. Our work as cooks and keepers of these vessels is to seal that pitted landscape through heat, carbon, and lipids.
Seasoning is not a varnish or a paint brushed onto the surface. It is an intentional transformation of liquid fat into an insoluble, hard plastic-like matrix bonded directly into the metal. When we build this layer ourselves, we gain an intimate understanding of how our pans respond to flame, salt, and fat. The process takes patience, a ventilated kitchen, and an eye for how oil changes state under steady, dry heat.
Understanding how oil polymerizes on porous iron
To cure iron successfully, we rely on polymerization and carbonization. When an unsaturated fat reaches its smoke point in the presence of atmospheric oxygen, the fatty acid chains break down. As free radicals form, these split chains cross-link with one another, converting from a slick liquid into a tough, dry, interconnected polymer film. Because iron is full of surface fissures, this expanding polymer roots itself deep within the micro-structure of the pan, locking the cure mechanically into the substrate.
Heat serves as the catalyst. Thermal energy first forces out moisture trapped in the iron pores, then accelerates the oxidation of the oil film. If the heat is insufficient, the oil remains an unlinked, gummy grease that attracts lint and turns rancid. If the heat is far too high, say well over 550 degrees Fahrenheit, the polymer chains combust entirely, breaking down into loose ash and exposing the raw iron once more.
Every successive layer of seasoning alters the thermal properties of the skillet. Bare gray iron has an emissivity of roughly 0.25, reflecting radiant heat rather than absorbing it smoothly. A well-polymerized, matte black pan reaches an emissivity near 0.90. This means the pan absorbs radiant heat from gas burners or oven coils far more readily and casts that heat evenly upward into whatever cut of meat or root vegetable rests on its floor.
Stripping old buildup without caustic chemicals
Old skillets rescued from barn floors or flea markets often arrive encrusted with decades of burnt lard, dust, and oxidized flakes. While lye baths and sodium hydroxide sprays remove this debris quickly, they require heavy chemical handling, rubber gauntlets, and neutralizer baths. We prefer mechanical and heat-assisted methods when working on individual pieces in a home workshop.
Before stripping, inspect the pan carefully. Look for hairline cracks along the heat ring or structural warping across the bottom floor. Place the pan on a known flat surface like a granite counter; if it spins freely or rocks significantly, the casting has warped from thermal shock, and a professional foundry or restorer should be consulted before you invest hours of labor into stripping.
To clear flaking, uneven carbon safely, follow this mechanical routine:
- Submersion in raw vinegar: Mix distilled white vinegar with tap water in an equal ratio inside a plastic tub. Submerge the pan for no more than thirty-five minutes at a time. The mild acetic acid dissolves orange surface rust without pitting the sound iron underneath. Check it often, as prolonged soaking in acid will erode the underlying metal.
- Abrasive scouring: Pull the skillet from the vinegar bath and rub it aggressively with coarse steel wool, grade 1 or grade 0. Work in tight, overlapping circles along the sidewalls and floor to shear off softened carbon sheets.
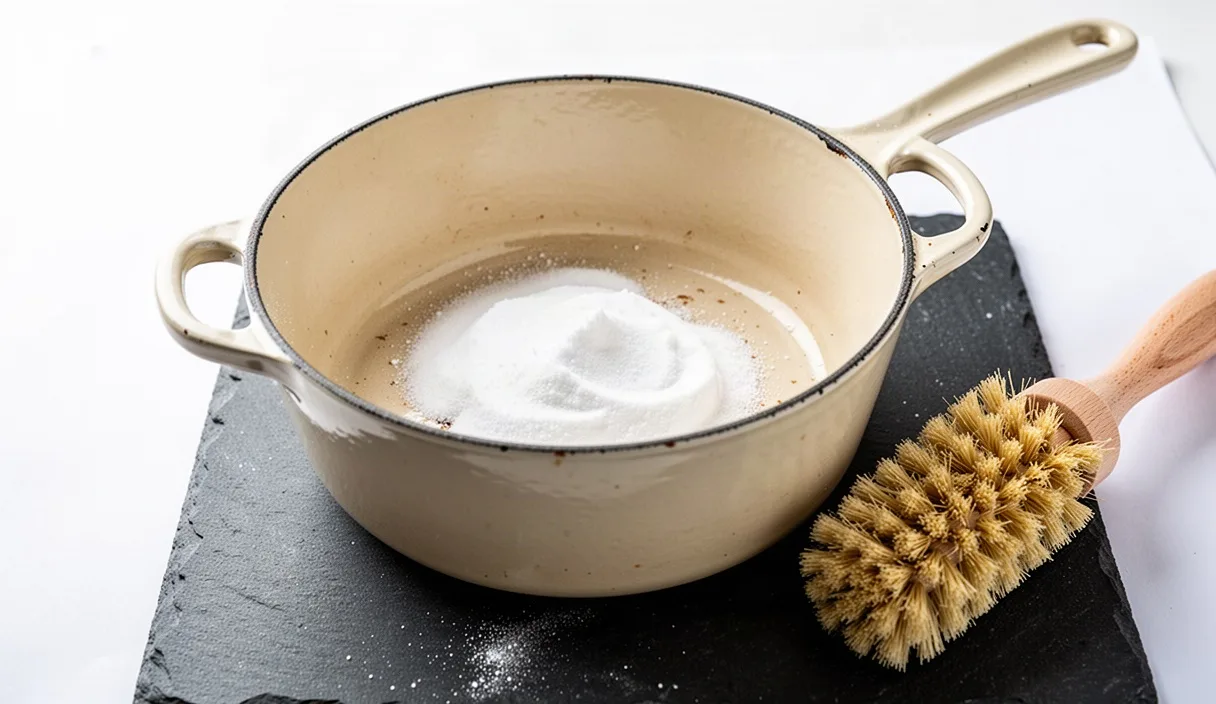
- Coarse salt slurry: For stubborn, sticky carbon patches, rinse the acid away and pour a cup of coarse rock salt into the damp pan. Work the crystals with a scrap of stiff canvas or dry burlap. The sharp facets of the unrefined salt act like miniature chisels, shearing off carbon deposits without gouging the iron.
- Final cold rinse: Wash away the dark slurry with cold water. Dry the metal immediately with clean cotton rags, then set the skillet over a medium-low flame for three minutes to drive off all sub-surface moisture before the rust can re-bloom.
Selecting the right fat for long-term curing
Not every kitchen oil creates a stable polymer. We evaluate seasoning fats by their iodine value, which reflects the number of double carbon bonds present in the fatty acid chains. The more double bonds a fat contains, the more readily it links with surrounding molecules to form a tough film. Saturated fats like tallow and butter smell wonderful, but their single bonds lack the cross-linking capacity needed to build an enduring base coat.
Highly polyunsaturated drying oils, such as pure food-grade flaxseed oil, possess high iodine numbers and polymerize into extremely hard coatings. However, because they form such rigid lattices, flaxseed coatings can become brittle over time and flake off in large sheets under the thermal stress of high-heat searing. Monounsaturated and moderately polyunsaturated oils offer a superior balance between hardness and elasticity.
| Fat Source | Approximate Smoke Point | Primary Fat Type | Film Character on Raw Iron |
|---|---|---|---|
| Refined Grapeseed Oil | 420 degrees Fahrenheit | Polyunsaturated | Thin, resilient, flexible under heat swings |
| Refined Canola Oil | 400 degrees Fahrenheit | Monounsaturated | Uniform, accessible, medium hardness |
| Raw Linseed (Flax) | 225 degrees Fahrenheit | Polyunsaturated (Drying) | Extremely hard, prone to micro-fracture |
| Rendered Pork Lard | 370 degrees Fahrenheit | Saturated / Monounsaturated | Soft, dark patina, requires frequent use |
For raw iron bases, refined grapeseed oil or high-oleic sunflower oil provides the most dependable foundation. They dry to a resilient sheen that bends subtly with the expansion and contraction of the casting, preventing the microscopic flaking common to harder, brittle options.
Applying whisper-thin coats to avoid sticky pooling
The most frequent failure in our workshop is excess oil. When oil is applied heavily, the surface layer skins over before the material underneath can link. The trapped liquid boils, blisters, and cools into an amber, sticky residue that will ruin your next cook. A proper coat of seasoning should be invisible to the eye before the pan goes into the oven; you are applying molecules, not a pool.
Begin by warming your stripped, bare skillet in an oven set to 200 degrees Fahrenheit for fifteen minutes. This gentle preheat opens the metal pores and lowers the viscosity of your seasoning oil, allowing it to flow smoothly over the rough casting marks.
Follow these steps to cure the initial protective foundation:
- Oil distribution: Place a nickel-sized drop of grapeseed oil into the center of the warm skillet. Using a clean shop rag or lint-free cotton cloth, spread the oil across every square inch of the piece: the cooking floor, interior walls, exterior base, helper tabs, and the full length of the handle.
- Complete wipe-down: Take a second, completely dry cotton cloth and wipe the pan down as if you made a mistake by putting oil on it in the first place. Continue buffing until the metal appears dry and matte. An oily sheen on the cool iron means there is still too much fat on the surface.
- Inversion in the oven: Place the skillet upside down on the center rack of your oven. Placing the cooking surface downward guarantees that any stray oil droplets will not pool on the floor of the pan. Place a sheet of aluminum foil on the bottom rack beneath the skillet to catch any theoretical stray drip.
- Baking cycle: Raise the oven temperature to 450 degrees Fahrenheit. Allow the pan to bake undisturbed at this target temperature for sixty minutes. During this hour, the kitchen will smell faintly of toasted grain as the oil oxidizes.
- Gradual cooling: Turn the oven off after sixty minutes and leave the door shut. Allow the iron to cool down slowly inside the oven cavity until it reaches room temperature, which generally takes between two and three hours. Gradual cooling settles the polymer lattice without introducing internal strain to the iron.
Repeat this thin application cycle three times on raw metal before cooking. When finished, the casting will have transformed from pale industrial gray to a warm, uniform bronze-black.
Daily wash routines using hot water and stiff bristles
A seasoned skillet is a working tool, not a delicate artifact. The long-standing myth that soap must never touch seasoned iron stems from the days when household soap contained free lye, which directly saponifies fat and degrades cross-linked polymers. Modern dish soaps are mild surfactants that lift unpolymerized surface grease without harming the cured seasoning film underneath.
Clean your pan while it is still warm to the touch, roughly ten minutes after cooking ends. If the pan has cooled completely, set it over a low flame for ninety seconds to soften any residual fat deposits. Never plunge a blisteringly hot pan into cold sink water; the sudden thermal differential can crack or twist gray cast iron across its grain lines.
Run hot tap water directly into the basin of the skillet. Using a brush with stiff, natural tampico or palmyra bristles, scour the surface in broad strokes. The bristles dislodge caramelized fond and charred proteins without blunting the micro-ridges of the cured oil. For food residue that has bonded stubbornly to the floor, scrape the metal with a squared stainless steel spatula or a square of chainmail scrubber. The smooth, rounded rings of chainmail abrade stubborn food while gliding harmlessly over the harder polymer base.
Once cleared, rinse the pan under running hot water until the surface feels slick rather than gummy. Dry the pan immediately with a dark kitchen towel, as any dampness left on the rim or handle will cause rust blooms before morning. Set the pan back onto your stove top over low heat for two minutes until the last traces of surface condensation vanish, then let it rest.
Spot-treating moisture rings and dull spots
Even with careful maintenance, your skillet will occasionally show gray, dull patches after cooking acidic foods like tomatoes, wine braises, or lemon-basted fish. Moisture rings can also form if a damp lid was left resting on the skillet rim overnight. These are superficial blemishes in the upper layers of the cure, not catastrophic failures of the vessel.
There is no need to strip the entire skillet down to bare gray metal to repair localized dullness. Instead, treat these areas on the stovetop immediately after your daily cleaning routine:
- Clear the blemish: Rub the dull area with a Scotch-Brite pad or fine steel wool dipped in a drop of water until the boundary between the shiny seasoning and the dull patch feels smooth under your fingertips. Rinse and dry thoroughly.
- Targeted oiling: Dab the tip of a cotton rag into your seasoning oil and smear a thin glaze exclusively over the affected patch. Use a dry section of the rag to buff away the excess until the area looks dry once more.
- Stovetop reduction: Place the skillet over medium heat on your burner. As the pan warms, watch the oiled patch closely. After several minutes, faint wisps of blue smoke will lift off the metal. Allow it to smoke gently for roughly sixty seconds, then turn off the heat.
- Buffing hot: Using a folded dry cloth, buff the warm patch one last time while wearing a heat-resistant mitt. As the iron cools, the freshly applied oil will have cross-linked over the bare iron, restoring the dark protective seal without an hour-long oven run.
Common mistakes to avoid
Caring for raw cast iron is simple, but several small missteps can quickly undo weeks of careful maintenance:
- Storing pans with lids on: Trapping air inside an iron vessel causes ambient humidity to condense on the cooking floor, leaving rust rings around the interior rim. Store pans open, or place a dry paper towel between the rim and the lid to encourage airflow.
- Using raw flaxseed oil at low temperatures: Curing flaxseed oil below its decomposition point creates a fragile, varnish-like shell that shatters under the pressure of a metal fish turner.
- Soaking in the sink: Leaving an iron skillet submerged in dishwater softens the lower layers of the seasoning matrix and accelerates oxidation through the porous bottom. Wash, dry, and store your pan within the same hour.
- Relying on bacon for initial seasoning: Commercial bacon frequently contains brown sugar, honey, and curing salts. These sugars caramelize directly onto warm, unseasoned iron, creating scorched black deposits that tear away fragile base coats when scraped.
Practical next steps for your bench and stove
Begin by organizing your workspace and assessing your cookware. Gather two dedicated cotton wiping rags, a bottle of fresh grapeseed oil, and a stiff natural-bristle wash brush that lives beside your sink. Set aside a three-hour block on a cool evening when you can open the kitchen windows, run your exhaust hood, and give your raw pans the uninterrupted oven heat they need to cure properly.
Remember that a pan's seasoning is a living surface, constantly wearing away and rebuilding with every meal you prepare. Do not obsess over achieving an immaculate, mirror-like black finish right away. The deepest, most durable patinas are built not in a single afternoon of oven curing, but over months of searing bone-in chops, roasting root vegetables with beef tallow, and giving the pan a deliberate, quiet wipe-down after the dishes are done.