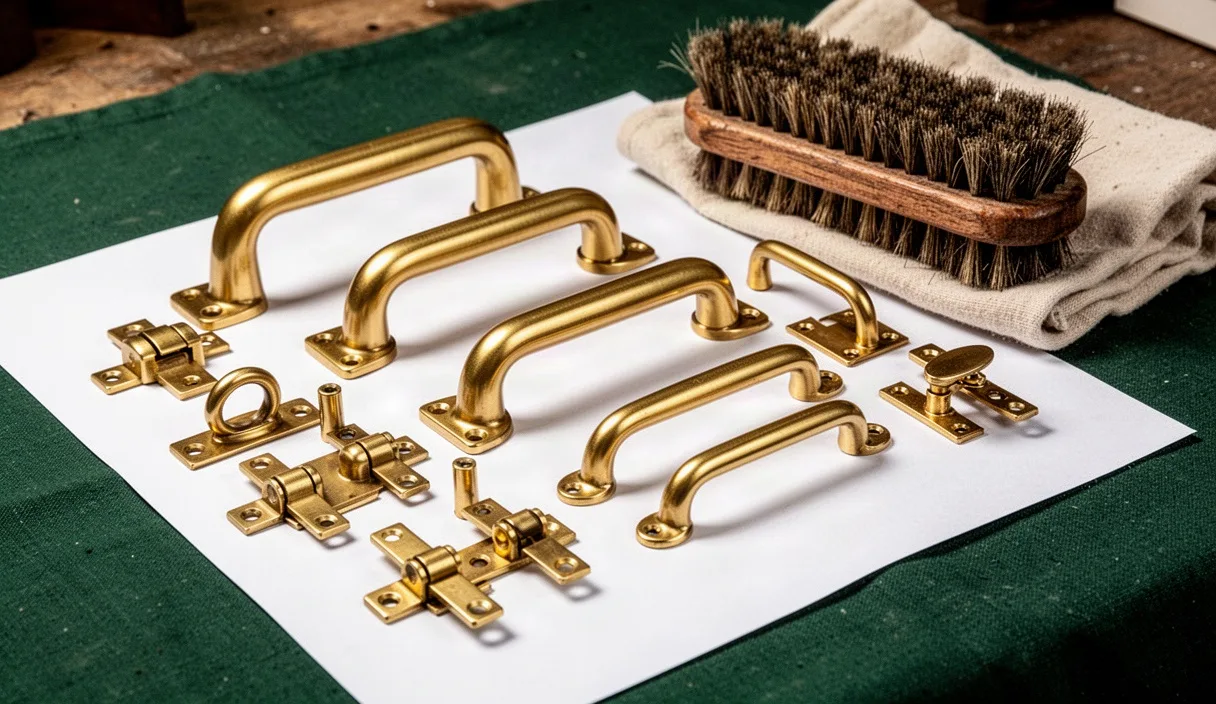
In our workshop, we treat brass not as a precious, untouchable metal, but as an honest working alloy. Cupboard latches, bin pulls, and cabinet knobs meet our hands dozens of times a day, catching steam from stockpots, vegetable oils from prep work, and the natural moisture of our skin. Over time, that steady contact builds a soft, uneven patina that tells the true story of a working kitchen. Yet there is a difference between an aged surface and one clogged with rancid cooking oils and grit.
Too often, the impulse is to reach for aggressive bath dips, ammonia solutions, or harsh toilet-bowl cleaners to strip everything back to bright raw yellow. That quick chemical shock attacks the metal itself, scouring away the crisp machine lines or soft sand-cast textures we value. We prefer a quieter, mechanical approach. By working with gentle degreasers, wooden hand tools, and microcrystalline wax, we can maintain the balance between clean utility and the deep character that only time and handling provide.
Testing for solid brass with a small pocket magnet
Before bringing any tool or cleaning solution to a piece of hardware, we must identify what is underneath the surface. Many modern fittings sold as brass are actually stamped steel or die-cast zinc coated with a microscopically thin brass flash or yellow tinted lacquer. If you scrub or aggressively polish plated steel, you will cut through that delicate film within minutes, revealing the dull grey base metal beneath. Once that plating is broken, there is no simple workshop repair short of replating.
We keep a small, unvarnished pocket magnet in our apron for this initial test. Solid brass is a non-ferrous alloy made primarily of copper and zinc, meaning it has no magnetic draw whatsoever. Remove a single pull or knob from your cabinetry and offer the magnet to the stem, the plate, and the screw terminal.
| Magnet Reaction | Material Indication | Recommended Care Path |
|---|---|---|
| Strong, immediate snap | Brass-plated steel | Wipe solely with damp microfiber; never use abrasives or paste polish. |
| Very slight, sluggish pull | Plated brass or cast iron with heavy brass casing | Test backplate with light pressure; treat as delicate composite. |
| Zero magnetic attraction | Solid cast, extruded, or forged brass | Safe for warm water baths, soft friction cleaning, and wax sealing. |
If the magnet clings to the pull, you must adjust your expectations. You are maintaining an ultra-thin barrier coat, not solid metal. If the magnet falls away freely, the fitting is solid alloy throughout. Solid brass can take the patient mechanical cleaning methods we rely on, and it will age gracefully across decades of kitchen work.
Cutting accumulated kitchen grease with mild dish soap
The dark, sticky residue that gathers around the neck of a drawer pull is rarely tarnish alone. In a kitchen, vaporized animal fats and vegetable oils settle onto cool brass fittings, where they trap airborne dust, flour, and chimney smoke. Attempting to buff this film off with dry cloths or brass cream merely smears the greasy paste deeper into the metal pores. We need an emulsifier that breaks down lipids without introducing mineral acids.
We remove the hardware completely from the woodwork using a manual, flat-ground screwdriver that fits the screw slot snugly, which prevents cam-out damage to the screw heads. We then fill a small enamel washbasin with warm tap water, roughly 45 degrees Celsius, and stir in three or four drops of a basic, fragrance-free liquid dish soap. We avoid dish detergents with added citrus extracts, oxygenating bleaches, or vinegar, as their acidic pH can etch the brass if left in contact for more than a few moments.
Submerge the handles and backplates in the bath for twelve to fifteen minutes. This rest period softens polymerized grease without shocking the metal. We take a soft, natural horsehair brush or an old, worn-down hog bristle brush and work the suds into the knurling, around casting seams, and along the grip. You will feel the drag of the grease give way beneath the bristles to smooth metal. Rinse every piece in clean, lukewarm water and dry them immediately with a dense cotton towel to prevent mineral spotting from the water.
Lifting verdigris gently with wooden picks around screw holes
Kitchen hardware often collects a powdery, blue-green crust known as verdigris. This copper carbonate salt forms when moisture, atmospheric oxygen, and kitchen acids like wine vinegar or tomato splatter sit undisturbed on the brass, especially in the tight crevice where the hardware meets the wood, or within the recessed countersink of a screw hole. While some enjoy the look of verdigris in garden architecture, inside a kitchen it is chalky, transfers onto damp fingers, and holds moisture that continues to corrode the metal underneath.
Metal dental picks, wire wheels, and steel wool should never be used here. Steel is significantly harder than brass, and a single slip of a steel tip will leave a permanent, bright silver-white gouge across the face of your handle. Instead, we carve our own picks from scraps of dense hardwood like boxwood, beech, or maple, or we use standard bamboo skewers with the ends whittled flat with a pocketknife to form a tiny chisel edge.
- Shape the wooden tip with a knife until it matches the radius of the countersunk screw hole or the decorative groove.
- Moisten the tip of the wood with a drop of mineral oil or warm soapy water to lubricate the contact zone.
- Press the chisel edge against the green accumulation and rotate gently around the circumference of the hole.
- Allow the dry salt crust to shear away against the wood fiber; wood yields just enough to crush the mineral without abrading the copper alloy beneath.
Once the crust is lifted, sweep the loose powder out with a dry, stiff paintbrush. If deep green staining persists inside the grain of an unlacquered casting, dab a small smear of plain whiting (calcium carbonate powder) mixed with distilled water onto the spot, scrub gently with the wooden pick, and wipe clean. This clears the crust while keeping the surrounding patina undisturbed.
Why aggressive liquid strippers leave brass looking pink
Many commercial brass cleaners and liquid chemical dips rely on harsh acids, such as hydrochloric, phosphoric, or sulfamic acid, to dissolve oxides instantly. They give a dramatic visual effect in sixty seconds, turning black-brown brass into glowing bright yellow. However, that rapid chemical reaction comes with a severe structural cost that many homeowners only notice after the metal dries: the dreaded pink or coppery flush.
This discoloration is caused by a metallurgical phenomenon called dezincification. Brass is an alloy composed of copper and zinc, typically around 65 to 70 parts copper to 30 or 35 parts zinc. Zinc is far more chemically reactive than copper. When submerged in a strong acid dip, the acid preferentially leaches the zinc atoms from the surface crystal lattice, leaving behind a porous layer of pure elemental copper. The crisp golden hue disappears, replaced by a mottled salmon pink that looks raw, diseased, and cheap.
Correcting dezincified brass is tedious work. Because the zinc has actually dissolved away, you cannot wash the pinkness off. You must mechanically abrade the copper layer using an ultra-fine rubbing compound, such as rottenstone lubricated with light mineral oil, working slowly across the piece until you grind past the depleted surface to fresh, balanced alloy. To avoid this unnecessary labor, keep strong acids, vinegar soaks, and ketchup packs away from your cabinetry entirely. Controlled, gentle friction will always protect the material integrity better than chemical violence.
Sealing hardware with a thin layer of furniture wax
Once your hardware is degreased, free of powdery salts, and completely bone-dry, you have a choice. You can leave the brass completely bare to allow the atmosphere and hand friction to darken it again, or you can stabilize the current finish. We advise against sprayed polyurethane or nitrocellulose lacquers for kitchen pulls; steam and hot grease inevitably work beneath the edges of the plastic film, causing cloudy yellow patches that can only be resolved by harsh chemical stripping.
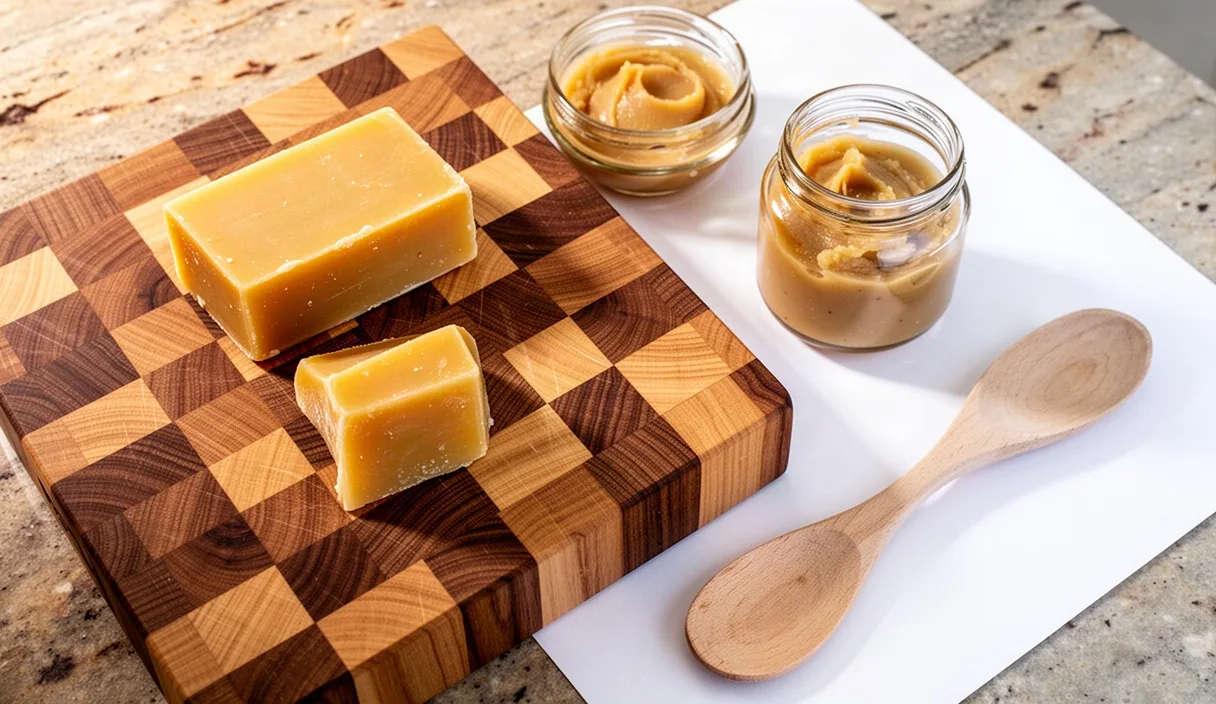
The quietest, most reversible finish is a high-grade paste wax. We prefer a microcrystalline wax, developed for museum conservation, though a pure carnauba and beeswax blend without silicone additives serves well. Microcrystalline wax has an exceptionally tight, dense molecular structure that repels water vapor, fingerprints, and salt air far longer than paraffin-based polishes, without feeling sticky or slick under the fingertips.
- Warm the brass slightly, either by leaving it on a warm towel near a sunny window or by holding it in your hands for a few minutes. Warm metal accepts wax more evenly into its microscopic surface pores.
- Using a clean square of unbleached cotton flannel, pick up a tiny quantity of wax, no larger than a dry garden pea for a standard six-inch pull.
- Rub the wax over every face of the fitting, making sure to work the film into the screw heads, the neck of the stem, and the under-grip where sweaty palms make contact.
- Let the wax haze over for twenty to thirty minutes until it appears dull and dry to the touch.
- Buff the surface briskly with a clean horsehair brush or a fresh, dry flannel rag. The result is not a glassy plastic sheen, but a warm, low-luster glow that lets the weight and quality of the casting speak for itself.
Setting up a seasonal wipe-down schedule
The key to avoiding intense restoration sessions is brief, rhythmic care. When brass is left unattended for three or four years in an active kitchen, layers of animal fat polymerize into a tough varnish, and condensation turns small specks of salt into deep pits. When handled seasonally, caring for an entire kitchen of brass hardware takes under an hour.
We tie our hardware maintenance to the changing of the seasons, aligning it with other quiet household markers like conditioning wood cutting boards or checking cast-iron seasoning. In early spring and again in late autumn, take a soft microfiber cloth slightly misted with clean water and wipe down the grip surfaces of your pulls while they remain in place on the doors. This removes surface salt and sugar before they have time to interact with moisture and oxygen.
Once a year, during a quiet weekend, take out your manual screwdriver and remove the handles on the high-use stations: the waste drawer, the pantry latch, and the drawer beneath the cooktop. Wash them in soapy water, apply a fresh smear of wax, buff them out, and reset the screws into their threads. By maintaining this low-effort cadence, your hardware never degrades into a crisis of green corrosion or grease buildup, remaining a source of quiet daily pleasure under your palm.
Common mistakes
In our work with reclaimed and domestic hardware, we repeatedly encounter the same few well-intentioned missteps that shorten the life of solid brass:
- Soaking hardware overnight: Leaving brass submerged in water for extended hours, even in mild soapy water, promotes galvanic corrosion around steel screw inserts and can cause dark, stubborn water-edge rings that require heavy buffing to remove. Limit soaks to twenty minutes at most.
- Using abrasive nylon scouring pads: Green and brown kitchen scouring pads contain aluminum oxide or silicon carbide abrasives designed for fired ceramics and steel pans. On brass, they leave sweeping cross-hatch scratches that ruin the original factory lathing or casting luster.
- Power tool buffing with cotton wheels: High-speed rotary tools run too hot for residential hardware. The friction melts wax, tears out delicate casting detail, and rounds off crisp edges on vintage hardware that can never be restored. Keep your polishing strictly manual.
- Over-tightening machine screws on reinstallation: Screwing brass fittings back into hardwood using a power drill often strips the threads out of the soft brass stem or shears the screw head entirely. Always use a hand driver, tightening just until the fitting sits flush and immovable against the wood face.
Practical next steps
To begin caring for your kitchen fittings the maker way, start by assembling a small, dedicated care tray. You do not need expensive specialty gear, merely deliberate materials: a brass-safe pocket magnet, two cotton flannel cloths, a bamboo skewer, an old natural-bristle toothbrush, and a small tin of pure paste wax or microcrystalline wax. Keep these items together in a lidded wooden box or metal tin in your pantry so you are never tempted to grab whatever abrasive cleaner sits beneath the kitchen sink.
Begin with a single pull from a low drawer or a little-used cupboard door. Test it with the magnet, give it a calm bath in mild dishwater, explore the screw cavities with your carved wood pick, and finish it with a whisper-thin coat of wax. Feel the temperature and texture of the metal before and after your work. If you encounter badly damaged antique fittings, active deep pitting, or complex mechanical locks that do not respond to simple degreasing, consult a professional architectural conservator or metal refinisher before turning to stronger interventions. For everything else, steady hands and patient, non-acidic methods are all the metal will ever ask for.